Nail art isn’t going anywhere fast. It took me a while to come around, but I currently have mini watermelons painted on my nails and I can’t help but smile as I see the tips out of the corner of my eyes as I type. While it takes patience and precision, it’s not as hard as you might think to create your own summer nail art. For some inspiration I asked Ryoko Garcia, a Gelish nail pro, for two easy, summer nail art ideas.

Here’s another idea that’s a little more advanced, but also totally doable!
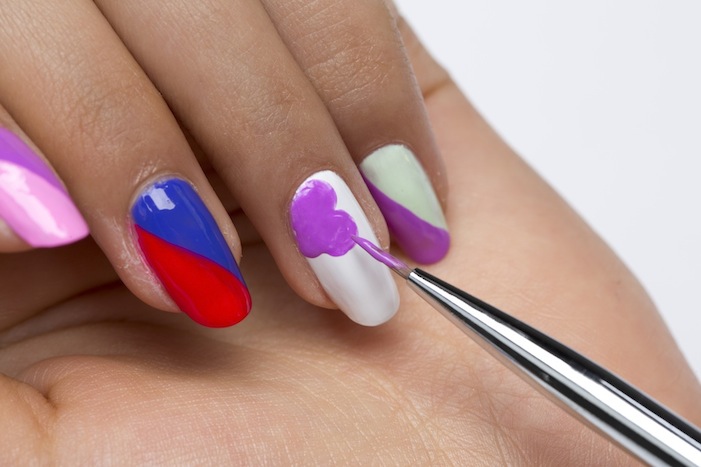
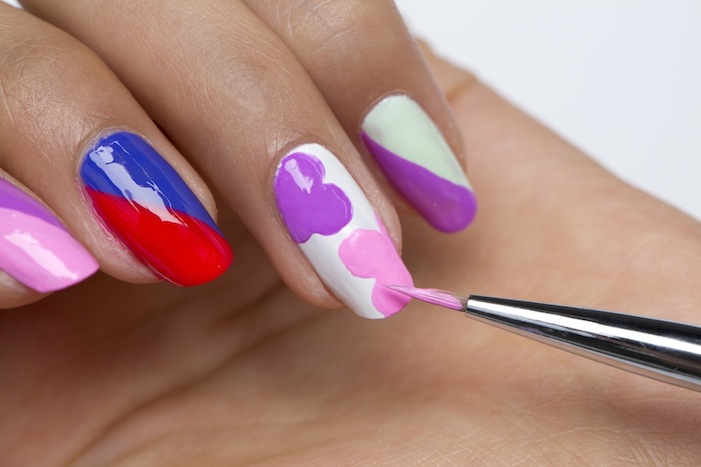
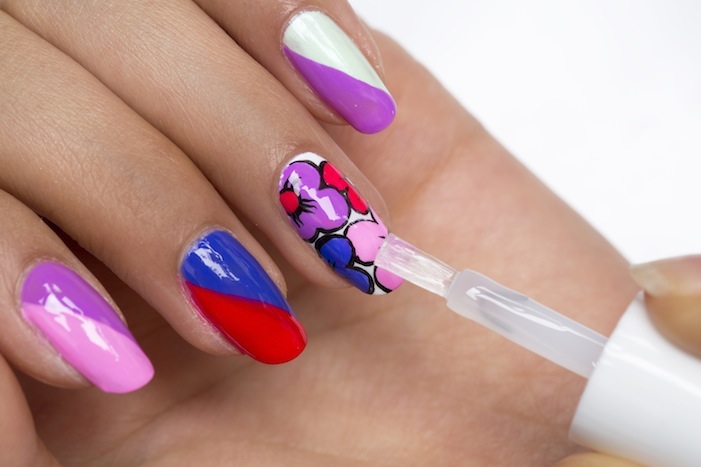
Step 3: Using a mini brush and a second shade of polish, create flower petals by connecting four circles together in the lower right of the nail.
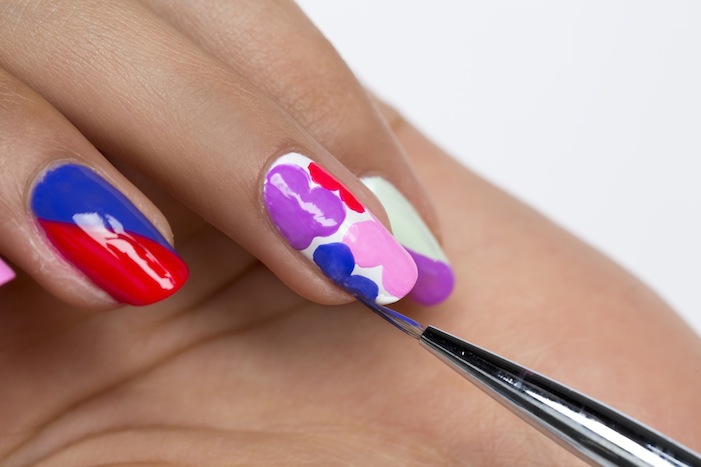
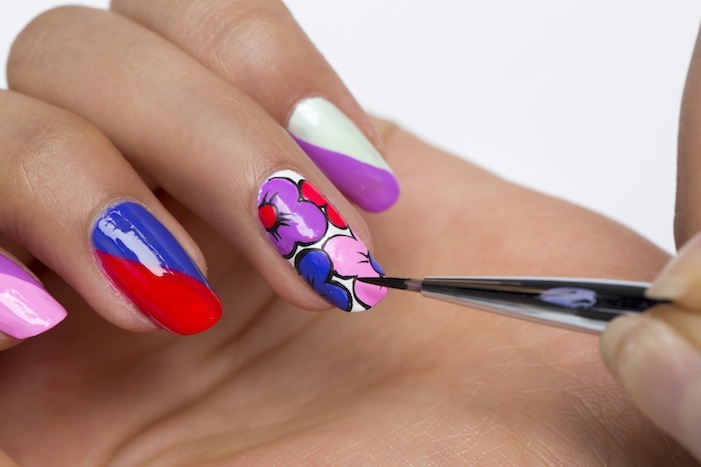
Step 5: Place a dot at the center of the upper left flower and a dot at the center of the flower on the lower right. Using a mini brush and black polish, outline the outside and center parts of the flowers.
Alternatively you can forgo a “painting” job and opt for a 3-D effect like this mani created by Anna Jasper. Customer Relations Manager & Beauty Expert at Haven Spa.